
Ever since my bridal shower almost two years ago, I've been dying to transform the wine crates used in the table centerpieces into something functional for the house. I considered turning them into shelving, but there isn't anywhere in the bungalow I'd like to keep them, so I decided to use them as storage baskets instead.
I headed to Home Depot to pick up some thick rope to use for the handles and waited for a warm, sunny day when I could head out and stain them. In the meantime, I sanded them down and made use of my brand new sander - so fun!
This is what the wine crates looked like before:

When the sunny day finally came, I grabbed some stain at my local hardware store. I decided on Minwax Wood Finish in Special Walnut because I wanted a dark brown stain without much red in it. Plus I liked that it was "special" walnut!

I started by staining the bottom first in case I didn't end up liking the color (I used a cheap ikea paint brush, probably not the right utensil, but it worked). Then I stained the 4 sides and finally the inside. Jon helped a little bit. He likes to jump on and help with my projects after I've started them.

I waited 5-15 mins and then wiped the sides down, just as the directions said. Admittedly I did not read the directions right away, so the stain did sit for a little longer in some spots, but I made sure to scrub it down with a rag to get any sticky excess stain off.
It was a gorgeous day when I did the staining so I left the crates in the sun to dry for a few hours. Then I grabbed Jon and had him drill the holes for the rope handles. The rope was 3/8" thick and so was the drill bit we used.

To get the measurements for the drill holes I just eyeballed it first to decide the best position. I didn't want them exactly centered from top to bottom, just a smidge higher than the middle. So we measured 3" down from the top and 4" from each side, then consulted the level just to be sure before drilling.
Putting the rope in was little snug, but it worked. I made knots on the insides of the crates so the handles would stay.
Here are some more photos of the finished crates. I LOVE how they turned out!

My attempt at being artistic in my photography...

Close up of the rope handles...
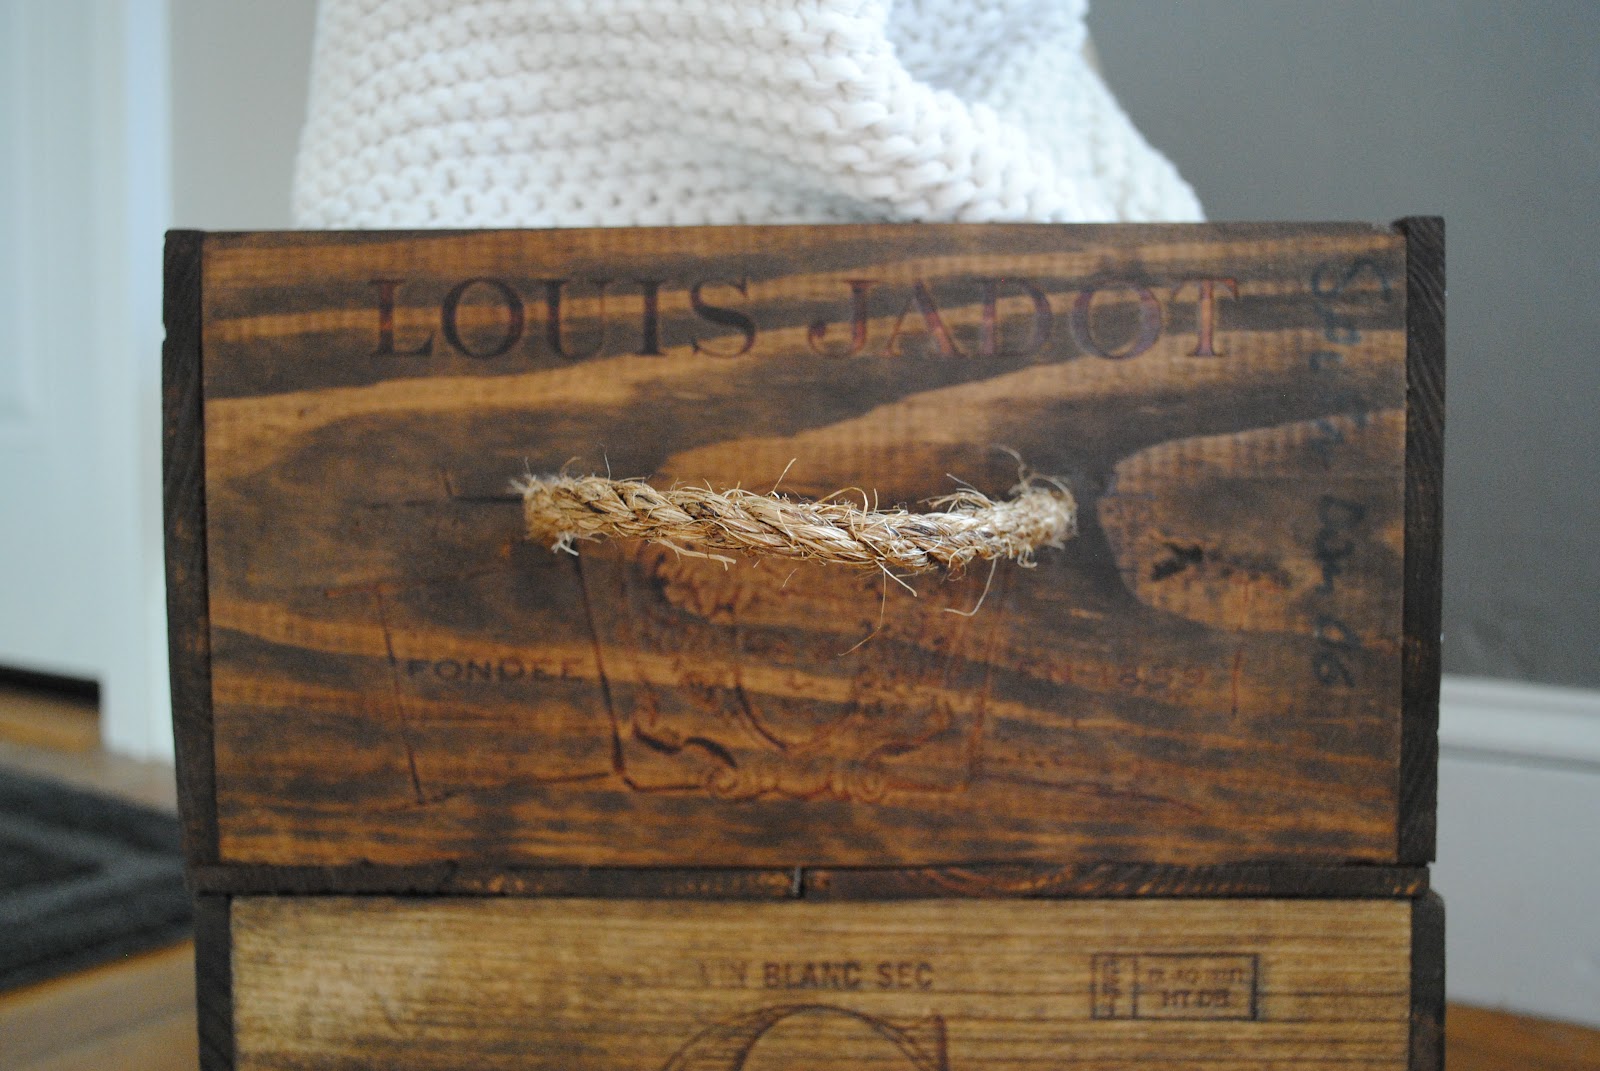
The wood was a little different between the two crates, which I think adds some interest to both pieces...

And finally, on display in our family room...

What do you think? Have you transformed your own set of wine crates? How did you do it?
~Amy
cute idea!
ReplyDeleteVery clever. Love the difference in the colors.
ReplyDeleteAbsolutely love this. I will be sure to get my own creations up at some point for all to see as well. Keep up the good work :) http://woodandbeer.blogspot.co.uk/
ReplyDeleteI have a couple crates and am going to start next week. If you like this kind of stuff it should be fun. Looking forward to it!
ReplyDelete